The short answer
Most cats never need their ears cleaned. Healthy feline ears are remarkably self-cleaning, with natural wax that traps debris and migrates outward. Routine cleaning is only necessary if your veterinarian recommends it (for breeds like Sphynx or Persians, or for cats prone to excess wax) or if you see visible dirt and debris. When cleaning is needed, use a vet-approved ear-cleaning solution and cotton balls or gauze—never cotton swabs. The goal is to wipe the outer ear and the visible part of the ear canal, not to probe deep inside.
Why Clean at All?
Cats are fastidious groomers and usually keep their ears tidy on their own. But some circumstances call for a gentle assist. Ear care is just one part of a grooming routine — see our guide to brushing your cat's teeth for another daily habit:
- Breed predispositions: Hairless breeds like Sphynx produce more ear wax because they lack the fur that normally wicks oil away. Floppy-eared breeds like Persians and Scottish Folds may have reduced airflow, leading to wax buildup.
- Visible dirt: If you see brownish wax or dust in the outer ear, a gentle wipe can keep things comfortable.
- Vet instructions: After treating an ear infection, your vet may ask you to clean the ears as part of home care.
Over-cleaning can actually irritate the ear canal, stripping away protective oils and causing inflammation or infection. When in doubt, ask your vet before you start.
How to Check Your Cat's Ears
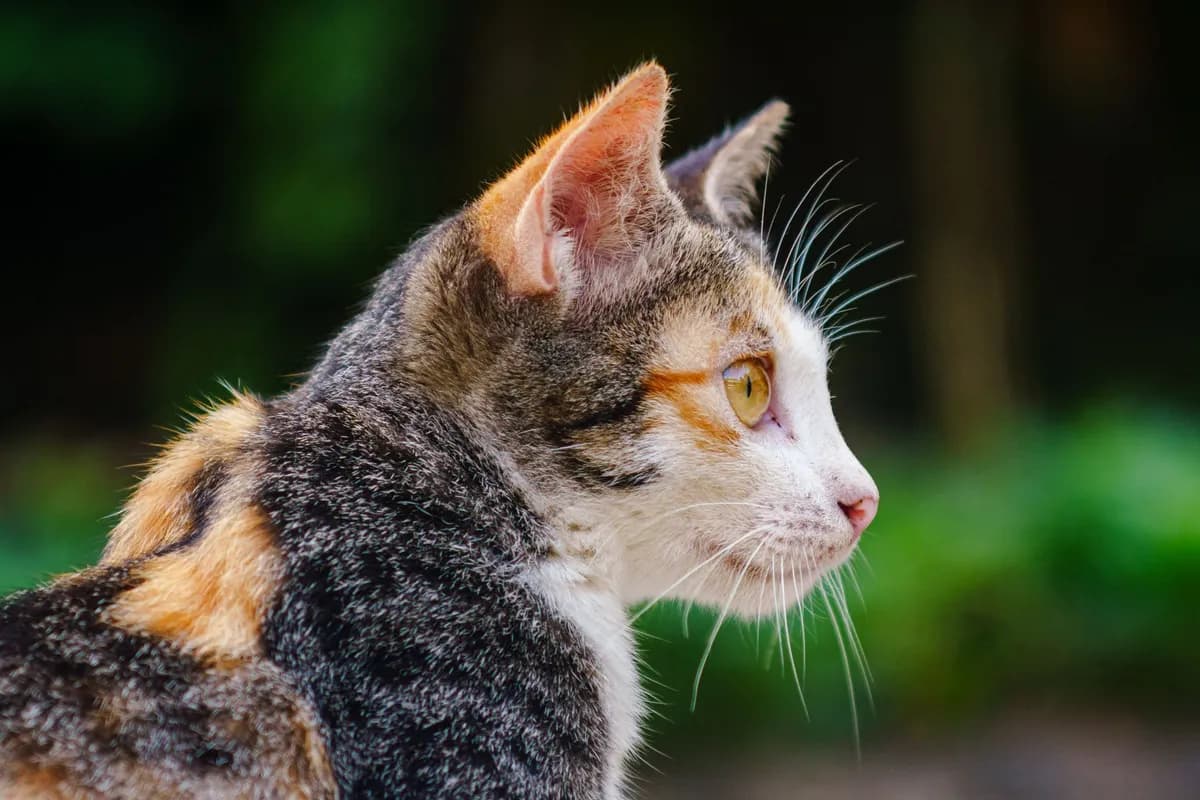
Before you clean, take a good look. Healthy ears are pale pink, clean, and odorless. Gently fold back the ear flap (pinna) and inspect the inner surface. You're checking for:
- Redness or swelling
- Dark, crumbly discharge that looks like coffee grounds
- Yellowish or greenish pus
- A foul, yeasty, or musty smell
- Excessive scratching, head shaking, or tilting
- Pain when you touch the ear
Any of these signs point to an infection, ear mites, or another problem that requires veterinary attention. Cleaning at this point can push debris deeper and delay proper treatment.
Step-by-Step Ear Cleaning
If your vet has given you the go-ahead, here's a safe method:
- Gather supplies: A vet-approved ear-cleaning solution (ask your vet for a recommendation), cotton balls or gauze squares, and a towel to wrap your cat if needed. Avoid cotton swabs, paper towels, and hydrogen peroxide or vinegar.
- Warm the solution: Cold liquid in the ear is startling. Place the bottle in a cup of warm water for a minute or two, then test a drop on your wrist—it should feel lukewarm, not hot.
- Position your cat: Have your cat sit on a counter or your lap. If they're wriggly, wrap them loosely in a towel like a burrito, leaving their head free. A second person can help hold them gently.
- Apply the solution: Hold the ear flap upright and squeeze a few drops of cleaner into the ear canal—enough to fill the visible opening. Don't touch the bottle tip to the ear to avoid contamination.
- Massage the base: Gently massage the base of the ear (just below the opening) for 20–30 seconds. You'll hear a squishing sound—that's the cleaner breaking up wax.
- Let your cat shake: Step back and let your cat shake their head. This brings debris to the surface. It's messy, so do this in an easily wiped area.
- Wipe the outer ear: Use a cotton ball or gauze to wipe away any loosened wax and solution from the inner ear flap and the visible folds. Don't go deeper than your finger can reach. Use a fresh cotton ball for each wipe.
- Repeat on the other ear if needed, using a clean cotton ball.
- Reward generously: Offer a treat and praise. Positive associations make future cleanings easier.
What to Avoid
| Common Mistake | Why It's Harmful | Safer Alternative |
|---|---|---|
| Using cotton swabs (Q-tips) | Can push wax deeper, puncture the eardrum, or cause trauma | Cotton balls or gauze for outer ear only |
| Cleaning too often | Strips protective oils, irritates the canal | Clean only when visibly dirty or per vet advice |
| Using household products (vinegar, alcohol, hydrogen peroxide) | Can burn or dry out sensitive ear tissue | Use a pH-balanced, vet-approved ear cleaner |
| Ignoring signs of infection | Delays treatment, can lead to chronic issues | See a vet for proper diagnosis and medication |
Never insert anything into your cat's ear canal, including cotton swabs, tweezers, or your finger. The ear canal is L-shaped and delicate; probing can cause severe pain, rupture the eardrum, or push infection deeper. If you see discharge, redness, or a bad smell, do not clean—schedule a vet visit immediately.
When to See a Vet Instead
Cleaning is not a treatment. If your cat shows any of the following, skip the cotton balls and call your vet:
- Ear mites: Itchy ears with dark, crumbly discharge that resembles coffee grounds. Mites are highly contagious and need prescription treatment.
- Infections: Bacterial or yeast infections cause redness, swelling, odor, and discharge. They require medicated drops or oral medication.
- Foreign bodies: Grass awns or foxtails can lodge in the ear, causing sudden head shaking and pawing. These need professional removal.
- Pain or sensitivity: If your cat cries or flinches when you touch their ear, there's likely an underlying issue.
- Recurrent problems: Frequent ear issues may signal allergies, polyps, or other conditions that need veterinary investigation.
Your vet can examine the ear with an otoscope, take a sample of discharge under a microscope, and prescribe the right treatment. They'll also show you how to clean properly if home care is part of the plan.
Frequently Asked Questions
How often should I clean my cat's ears?
For most cats, never—healthy ears are self-cleaning. If your vet recommends cleaning, follow their schedule (often once a month or as needed). Over-cleaning can cause irritation.
Can I use baby wipes or olive oil?
No. Baby wipes may contain fragrances or chemicals that irritate the ear. Olive oil can create a sticky mess and isn't an effective cleaner. Stick to products specifically made for feline ears.
My cat's ears look dirty but they don't seem bothered. Should I clean them?
If you see visible dirt, a gentle wipe with a cotton ball (no solution) can remove surface grime. But if the dirt is dark, smelly, or accompanied by scratching, it's likely an infection or mites—see a vet.
Is it normal for a cat's ears to have some wax?
Yes, a small amount of light brown wax is normal. It helps trap dust and debris. Only excessive amounts, discoloration, or odor are concerning.
What if my cat hates having their ears touched?
Go slow and use positive reinforcement. Pair ear handling with treats and gentle strokes. If your cat becomes stressed, stop and try another day. Forcing it can lead to fear and aggression.
Key Takeaway
Healthy cat ears are low-maintenance. Resist the urge to clean them routinely—your cat's ears are designed to stay clean on their own. When cleaning is needed, use vet-approved products, stick to the outer ear, and never probe with cotton swabs. Most importantly, recognize that signs like redness, discharge, or odor are not a call for cleaning; they're a call to your veterinarian. A little caution and a gentle touch go a long way in keeping your cat's ears comfortable and infection-free.
Share this guide
Help another cat parent find it.